
Normal mode:
1475 gear score

Kakul Saydon Gate 3 Boss Guide
Overview
Introduction
This is the final gate to take down the Mad Clown. You have beaten Gate 1 and Gate 2, but this is your hardest challenge yet.
Good Luck! And remember that there is only Normal Mode and Rehearsal Mode. Check out our end game guide if you’re still progressing your Gear Score
Download our free Lost Ark Overlay to get this guide, cheat sheet, and more within your client. We highly recommend it if you're using a 2nd screen from browser.
Full Video Guide


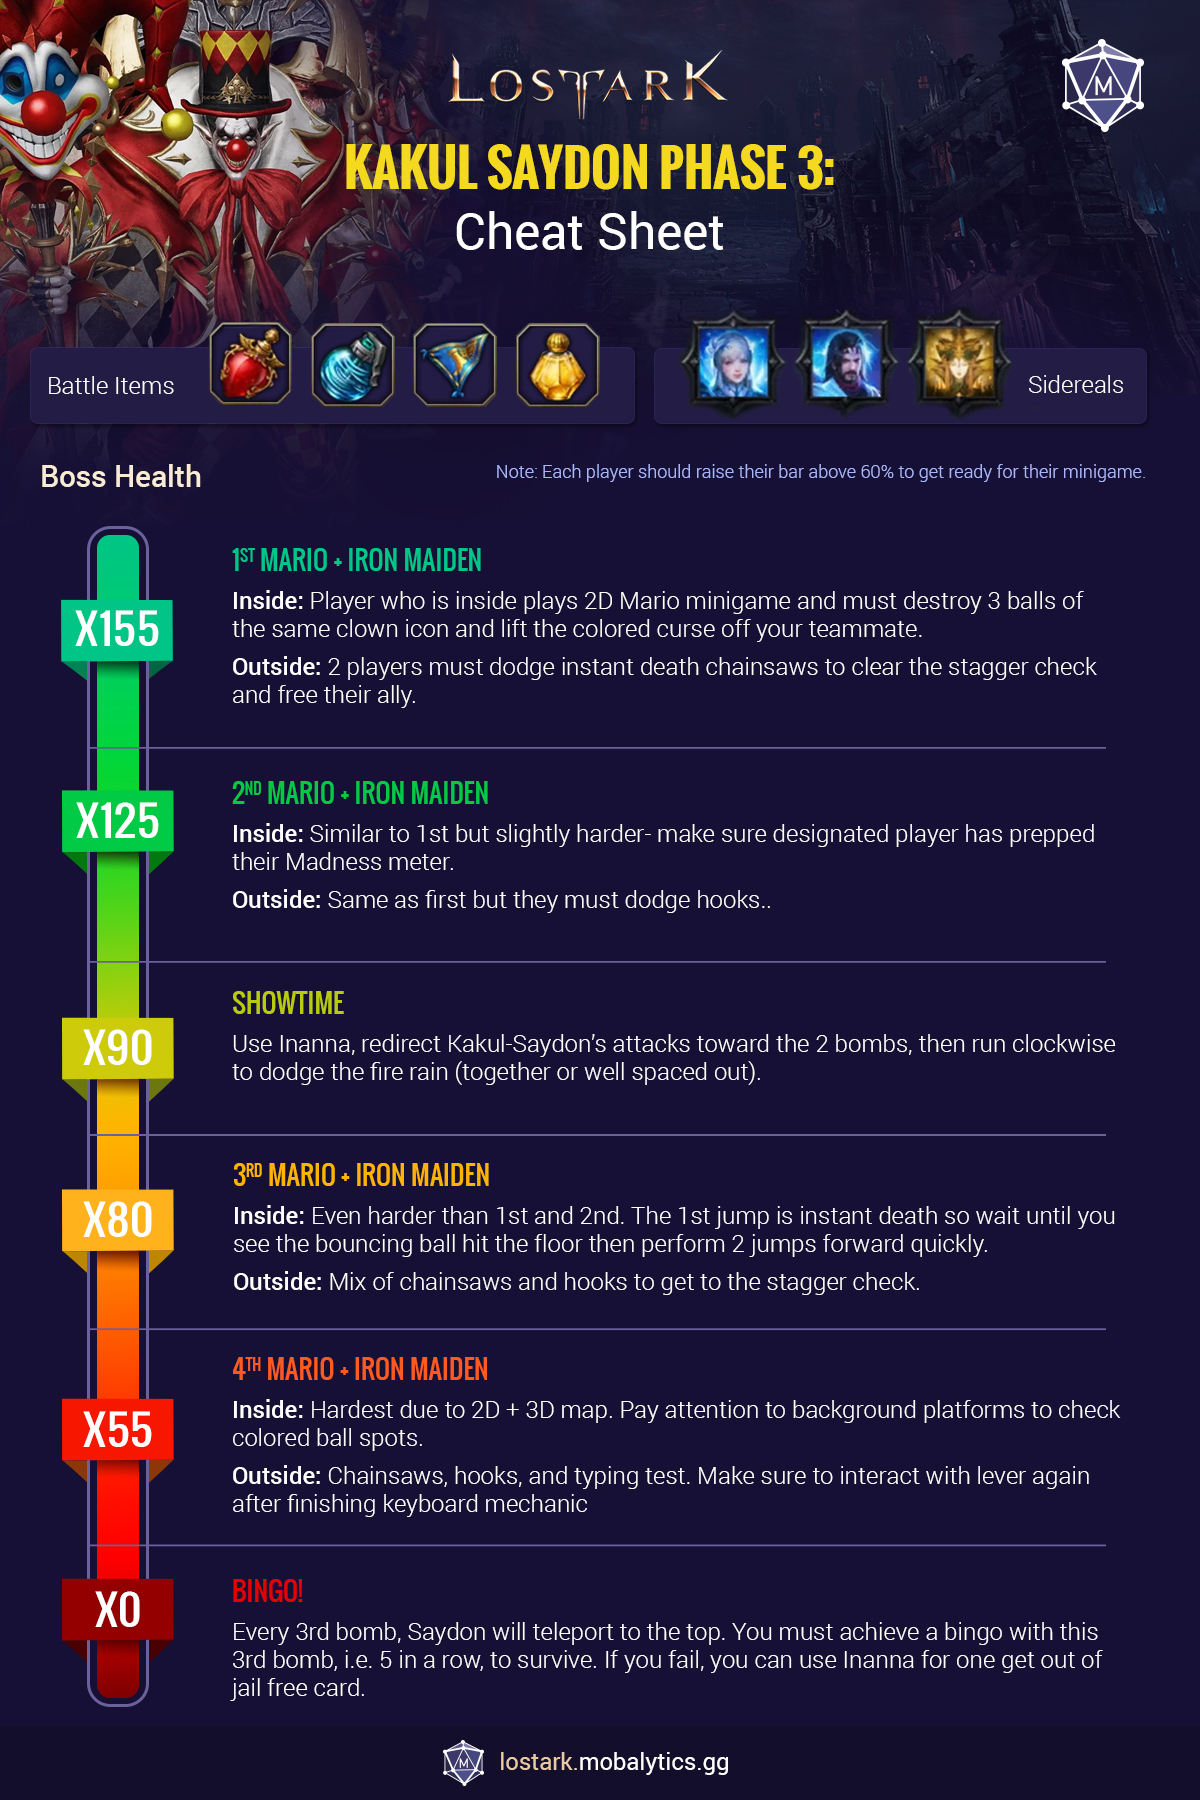
Cheat Sheet
Key Mechanics
Managing Madness
Why Manage Madness
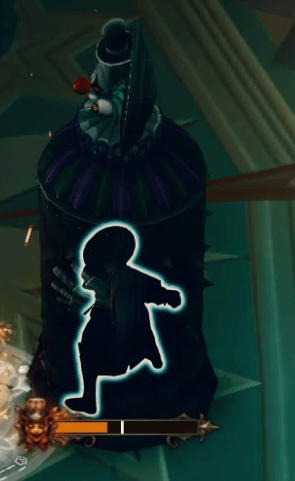
Managing Madness is going to be key to entering the Minigame as a clown. In order to clear the Minigame four times, a different player is going to have to enter the portal each time.
For them to transform into a clown and enter a portal, they need to be ready to go to 100% Madness at the right time. This is usually done by being ready at 50% before the upcoming mechanic HP threshold.
How to Manage Madness
Luckily there are two really good ways to prepare your madness at the right times.
Tower of Madness
This is a new object that is summoned throughout Kakul-Saydon’s gate 3. It helps anyone that steps in its radius to gain Madness gauge quickly, but after a certain time, it will explode.
Be careful and don’t forget to destroy it if you don’t need it.
Clown Flame Tower
His flames increase your Madness Guage when you need it during the mini-game prep. It spawns 15 seconds before the portal appears too.
Mario Mini Game
What Happens
The boss is going to make your party play a twisted mini game where one person goes into a portal to conquer a 2D platformer and the other 2 people have to save a captured friend by Staggering Saydon through his Maze of Horrors.
This is going to repeat in a similar fashion 4 times, so pay attention to the basic principles to master it.
Mario Minigame Rules and Preparation
- Each player can only do only 1 mini-game.
- If the same player tries to do 2 mini-games it’s a wipe.
- If you’re next in line, fill your Madness gauge to 50%+ and get ready.
- The Clown Flame Tower will spawn 15s before the portal does. Use it to go to 100%.
- Make sure to throw a bomb at the Flame Tower before entering to strip the 70% debuff.
Mario Minigame Rules
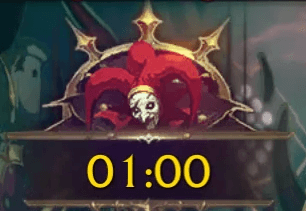
You have 1 minute to finish your Mario mini-game.
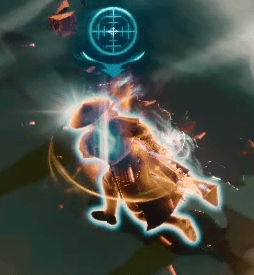
One player outside will have the Madness Curse, indicated by a clown icon. This player will need to inform his teammate who is performing in the portal what color the icon is.
The player who is inside must destroy only the balls with the same color.

You need to destroy 3 balls of the same color to lift the curse of your teammate. If you destroy a different color ball, it stuns and damages you.
Mario Minigame Controls
Once a player is inside, skills will be changed to these 2 skills:
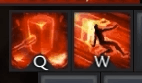
- Q Skill: A smashing hammer that destroys enemies and the colored balls.
- W Skill: Jump.
WARNING: Do NOT press Space to jump over, it will NOT work and you will die!
X155: 1st Mario + Iron Maiden
Mario Minigame
The 1st player that transforms into a clown and then jumps into the rainbow portal in the center will be teleported to a 2D world. Make sure everyone knows what portal they are assigned to.
Iron Maiden
Players outside will have different mechanics to deal with. A few seconds after the 1st player teleports to their mini-game, curtains will close and re-open.
One random player will be imprisoned in an iron maiden. The 2 players left must free them. To do that, both players need to reach Saydon and stagger him.
During this, there a chainsaw will move toward the imprisoned player slowly. If the 2 players free players fail to stagger the boss, this chainsaw will kill the imprisoned player.
For the X155 Minigame, players will need to cross a room fool of chainsaws that one shot players to clear the stagger check.
X125: 2nd Mario + Iron Maiden
Mario Minigame
Same as the first except it's a little harder. Remember that a new player has to go in the portal.
Iron Maiden
Players outside will have the same mechanic as 1st Iron maiden but with one change. Instead of chainsaws , it will be hooks that drag players to the very edge of the arena,
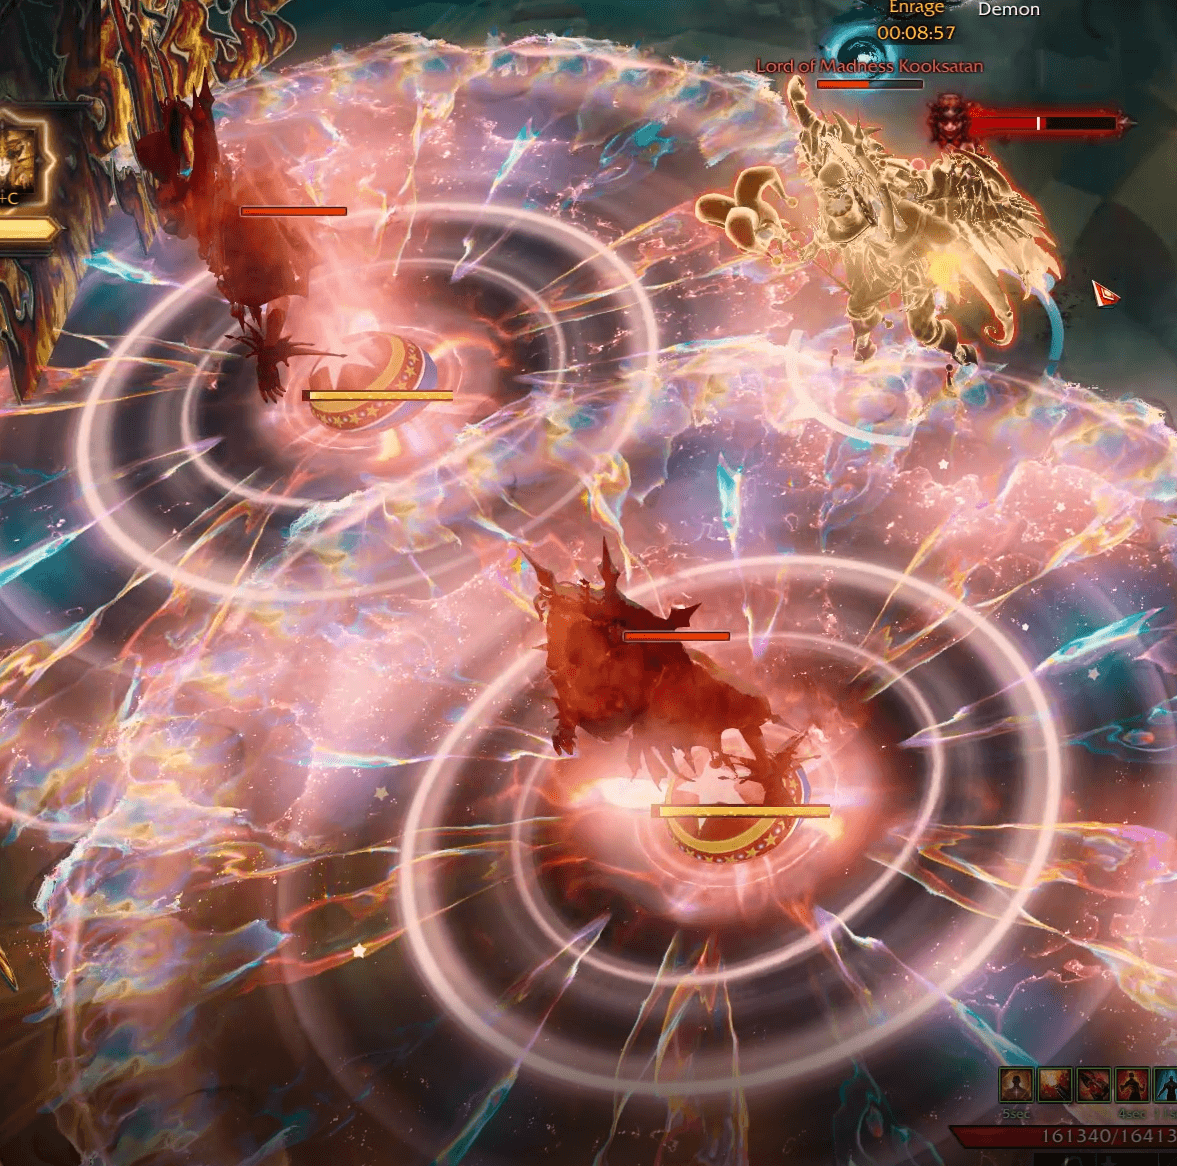
X90: Showtime!
What Happens
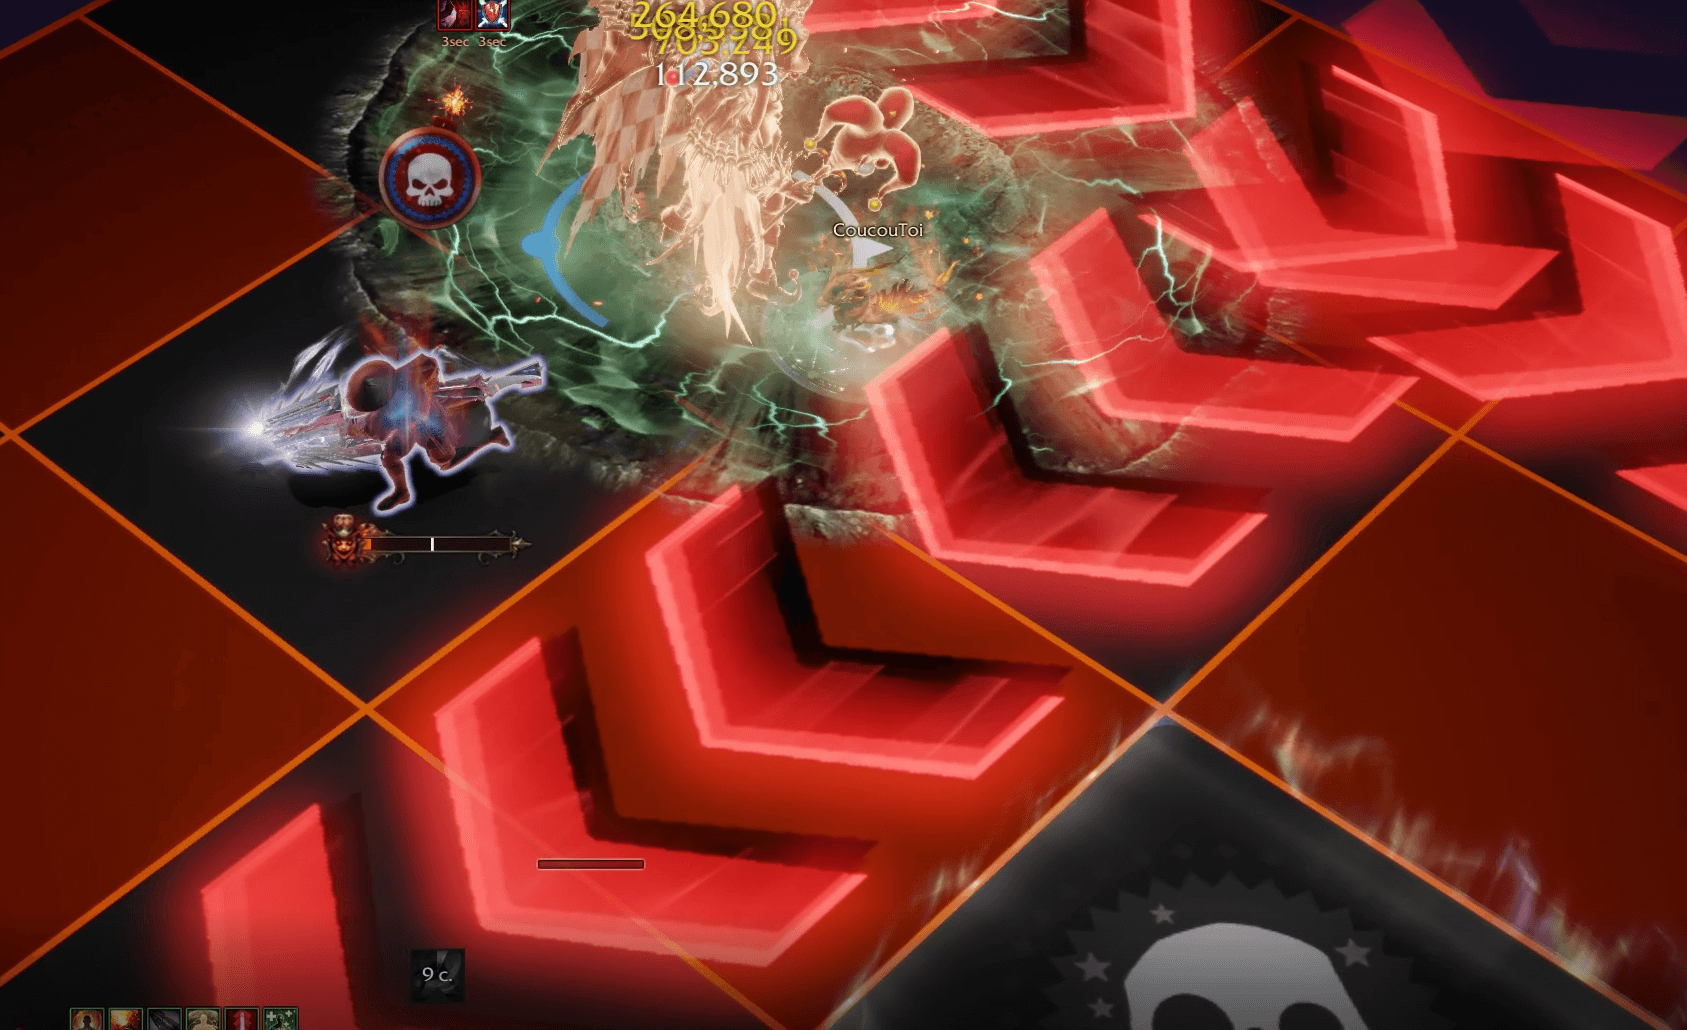
Saydon will get a huge defense buff, teleport to the center of the battlefield, and start the Showtime mechanic.
Immediately 2 players get target marks on their head. Fire bombs that leave burn over time damage on the ground will be shot at them, so the two players must be ready to run away and dodge.
What to Do
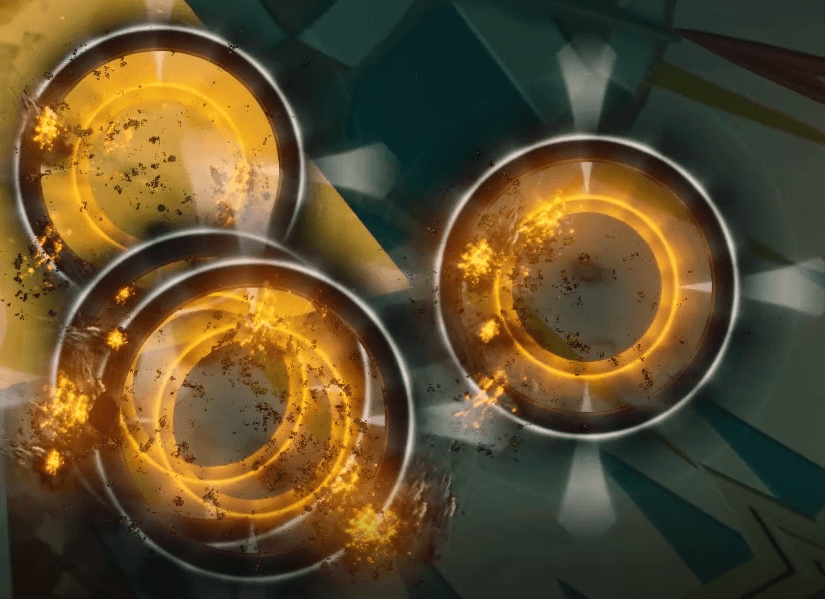
After that, Saydon will start slowly spinning while shooting bullets that stagger players and increase the madness gauge. Big yellow circles will be your visual cue for what to dodge.
We recommend using the Inanna Sidereal a few seconds after this mechanic starts and things get hectic. Two big bombs will be dropped and the players with the targets on their head must redirect Saydon to face the bombs and shoot them, otherwise it’s a wipe.
When Saydon is done, he will jump to the side of the battlefield and start shooting everyone. Each player will have big yellow target marks following them and if it touches a player, it will instantly kill them.
So, either you run together as a team, or each player takes 1 corner and runs clockwise (use a Marching Flag if you will be running together).
Full Showtime mechanic footage:
X80: 3rd Mario + Iron Maiden
Mario Minigame
Same as 1st and 2nd minigames but once again, a bit harder.
The 1st jump can be tricky because if you get hit by it, it’s instant death. Wait until you see the bouncing ball hit the floor and perform 2 jumps forward really quickly to avoid it.
Iron Maiden
Players outside will have a mix between chainsaws and hooks.
X55: 4th Mario + Iron Maiden
Mario Minigame
This one should be the hardest, because it is 2D in a 3D map. Pay attention to the background platforms to check the colored ball spots.
Iron Maiden
Players outside will have even harder mechanics to deal with. This time it will be chainsaws, hooks, and a typing test to deal with before staggering Saydon.
The typing test starts when you pull the lever. Do not forget to pull the lever again after finishing.
X0: Bingo!
What Happens
At 0 hp Saydon will send all players to another platform to play bingo. The boss timer resets to 14hours, and the HP bar resets to 77 bars or roughly 2.5 billion HP.
The fight definitely isn’t over yet. You will have to damage the boss while playing the bingo minigame, and if you fail its game over.
Bingo Rules
The platform will have 2 skull icons on 2 different tiles and at every interval ~20-30s, a random player will have a bomb icon on their head. You need to place it on a tile to try and hit 5 skull tiles in a row, or a Bingo!
Each bomb drop causes the tile itself and the 4 adjacent tiles to flip. That means if they are showing a skull it will revert to clean and it will show a skull they are currently clean.
Bingo Mechanics
- You will have 3 bombs to do this before Saydon will perform a wipe mechanic.
- If you do manage to get a bingo before then, you have 10 seconds of free damage.
- Each successful bingo deletes 12 bars of Saydon's HP.
- Stepping on a Skull tile will stun you and fill a massive chunk of Madness. You will need to spam spacebar to get out of it.
You can use Inanna as a get out of jail free card to prevent the wipe mechanic, but that only buys you an extra life before you potentially run out of space on the board.
Mallet Attack
During this phase, two hammers will drop down from the ceiling and prepare to swing across the map. Getting hit is instant death – neither a Shield nor Time Stop can save you.
Move out of the flashing arrow indicator.
Sometimes, a player must sacrifice themselves when they have no choice but to place a bingo bomb in a position where a hammer attack will happen.
Bingo Fear
Saydon teleports to a targeted player and turns his back toward them. Then, he casts a purple grim aura – if any player is facing Saydon, they will be feared and blinded by darkness.
Make sure to look away!
Random Notable Mechanics
Kakul's Curse
What Happens
This is a very dangerous mechanic. Saydon curses several or all players with a debuff that lasts for 15s. At the end of it, your HP will reverse, meaning that if you’re full at HP it will reverse it to 0 and you will die. You can see the curse debuff above your mana bar.

What to Do
We recommend you run to the edges and take some damage from the fire to reduce your HP to 10-20%. When the curse ends, it reverses your HP to 80~90% HP.
Often times, this mechanic has a follow-up, Kakul's Face.
Kakul’s Face
What Happens
Kakul’s giant face will cover the arena floor. Saydon (the main boss) will be invincible and all battle items/skills will be disabled.
Saydon will unleash waves of anger, dealing fixed damage to everyone. The number of waves depends on the number of transformation buffs you gave the boss  .
.
What To Do
Stay topped off and pre-emptively use shields, especially after deadly moves like Kakul's Curse.
However, if the boss has 5 stacks of the buff, it’s a wipe.
Clap of Death
Saydon will clap twice. When this happen, expect 1 of 2 things:
- Random hooks sliding across the arena.
- Random chainsaws crossing the arena.
Don’t stand near the edges, go to the center.
If you stay at the edges, it makes dodging hard.
Basic Attack Patterns
Electric Shock
Saydon casts 3 shots of lightning at targeted player, dealing damage and paralyzing them.
When he leans forward and points his staff, dodge fast.
Clone Split
Saydon splits into 4 clones, 3 of them take 0 damage, with normal HP bar on his head is the real one.
Watch the HP bar above his head and go after the one that's not empty.
Rainbow Puke
Saydon pukes on a targeted player, debuffing him with a Madness Circle.
Get out of the path of the attack and your allies, and take advantage of the lockout time to attack.
Laser of Fear
Saydon will fire a laser and rotate around. This laser fears anyone it touches.
As soon as you see him eye beam, be ready to spacebar through it or be far away.
Electric Jump
Saydon jumps off the battlefield, targeting blue lightning circles on the ground. Then, he will land causing damage in 4 yellow slices around the point of impact.
Keep moving and dodging while working yourself away from the point of impact. The farther out you are, the easier it is to dodge.
Counter Patterns
Staff Charge
This comes out fast, and if you fail the counter, Saydon will dash forward knocking up everyone in front of him.
Saydon turns blue and holds his staff preparing to dash forward. Counter then.
Ball Hop
Saydon jumps on a ball and turns blue. If you fail to counter, he will do the circus ball walk and flame breath, dealing high damage and burning players over time.
Prepare to counter as soon as you see Saydon leap vertically and a ball appear under him.
Sidereal Usage
Roster
During the Kakul-Saydon raid, you will have the help of the following 3 Sidereals
Nineveh (Ctrl+Z) Deals the highest damage
Wei (Ctrl+X) Deals an insane amount of stagger and some decent damage.
Innana (Ctrl+C) Creates a magic shield that grants immunity to stagger and knockbacks while partially absorbing damage and reducing the Madness Guage. When the shield disappears, it will restore the HP of all the players who are in it.
Optimal Usage
We recommend prioritizing usage based on your party's comfort level and makeup:
Innana during the X90 Showtime Mechanic.
Wei during the stagger check of the 4th iron maiden mechanic due to the tight time window.
Nineveh is optimal during the following mechanics in order of priority:
- Rainbow Attack
- Flames everywhere
- Paper birds